Outlook Out of Office Assistant
Out of Office Asistant helps you automatically and consistantly send replies for the exact dates, letting collegues know what to do while you are out and/or when you will return.
From the Outlook Tools menu, click Out of Office Assistant.
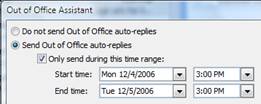
Once it opens, Click Send Out of Office auto-replies
If desired, select Only Send during this time range, and then set the appropriate Start and End dates and times.
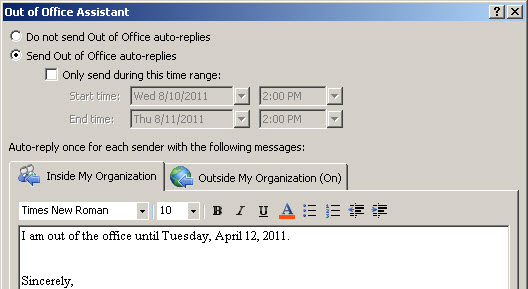
You can create separate auto-reply messages for email coming from internal workers and external senders.
In the Out of Office Assistant dialog box, there are two tabs for messages. One titled Inside My Organization and the other Outside My Organization.
To send an Out of Office reply for messages originating within my organization, create your reply in the text window of Inside My Organization.
To send an Out of Office reply for messages originating from outside of my organization, click the Outside My Organization tab; the details for each are pretty much the same.
You can apply font, font size, style, color, bullets, numbers, and indents just as you would in a Word document.
Use rules to manage the messages that come into your Inbox during your absence. For example, a rule could automatically sort messages by subject into pre-established folders.
Open the Out of Office Assistant dialog box, and then click Rules.
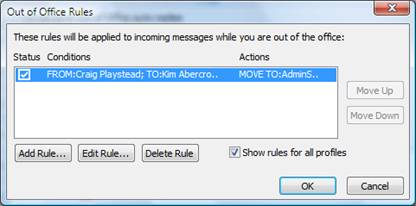
When the Out of Office Rules dialog box appears, do one of the following:
To create a new rule, click Add Rule.
-OR-
To edit an existing rule, select the rule, and then click Edit Rule.
In the Edit Rule dialog box, complete the section When a message arrives that meets the following conditions with your preferred filtering options. For example, you can forward a message from a specific person to your manager.
Complete the section Perform these actions with your preferred filtering options.
Click OK if you do not need to further customize the rules. Otherwise, click Advanced to add additional filtering capabilities to the rules.